Are you looking for premium fonts with a FREE Download option? Fonts play a key role in the overall design scheme of a website. Choosing the right fonts is important as it reflects the brand of your website.
While Google Fonts offers a wide range of free fonts to choose from, there are times when you want to have a unique look for your website. This is where premium web fonts come into the picture. Moreover, sometimes, the combination of Google fonts and premium web fonts can also offer your website a unique appeal.
The only problem is many premium fonts can cost you an arm and a leg when want to buy a complete bundle of fonts. Some fonts require you to pay a monthly subscription depending on your views. In short, if your website budget doesn’t let you use premium fonts, you should stick to Google Fonts.
However, for those who want to download premium fonts for a limited use, this guide can be of help.
Disclaimer: This guide is designed to help you use download commercial fonts for free as long as you use them for personal use. Downloading commercial fonts illegally is likely to cause you legal trouble. If you’re doing a school project or personal project, you can directly contact any font license distributor. Some of them can allow you to download fonts as long as your use is limited to non-commercial projects.
I highly recommend paying for commercial fonts since it’s an ethical approach and the best way to support artists.
Steps to Use Premium Web Fonts on Your Website
Here are the steps to use premium web fonts on your Website.
Step #1: Recognize the Font Family — Use this Chrome Add-on
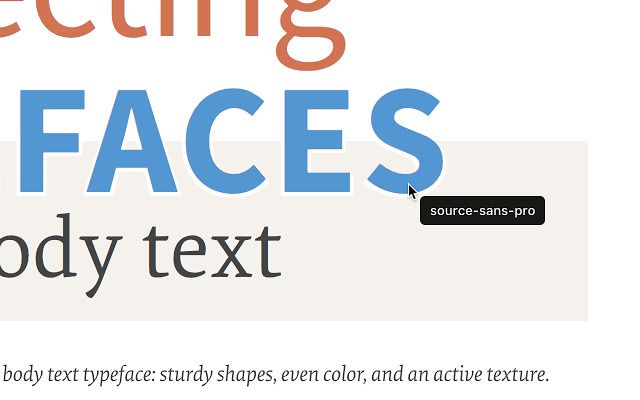
The first step to downloading commercial fonts for free begins with recognizing the font family. This is where WhatFont chrome add-on does the job for you.
If you’re using Chrome browser, simply install WhatFont add-on and click on the text of any website. It not only tells you the exact font but shows the associated css styles such as font-size, font-weight and color hex code (e.g #fff for white and #000 for black).
Step #2: Check with a Font License Distributor — Is it FREE?
So you love a particular font and want to use it on your website?
The first thing you should do is see if it’s available for free download on Google Fonts. If it’s not there, it’s possible a commercial font and available with any font license distributor.
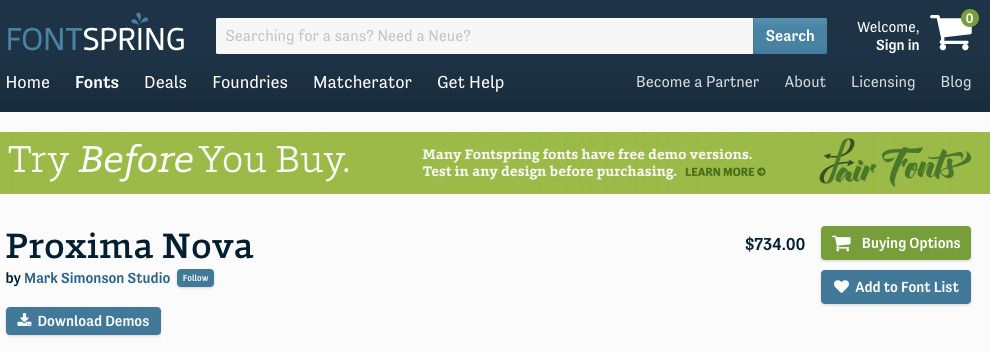
There are many font license distributors such as FontShop, MyFonts, Typekit, Font Squirrel and so on. However, my personal favorite font license distributor is FontSpring.
FontSpring lets you download demos and you can use the demo fonts on your website before you decide to buy them. They call it a Fair Fonts policy.
If you’re lucky, you can also find many fonts for free download — yes, they are completely free. No string attached!
Step #3: Search for the Fonts on Google — Keywords You Should Use
What if your favorite premium font is unavailable for free download? It’s time to turn to Google. Simply search for your favorite font’s name with free download and you will come across some websites that let you download those fonts free.
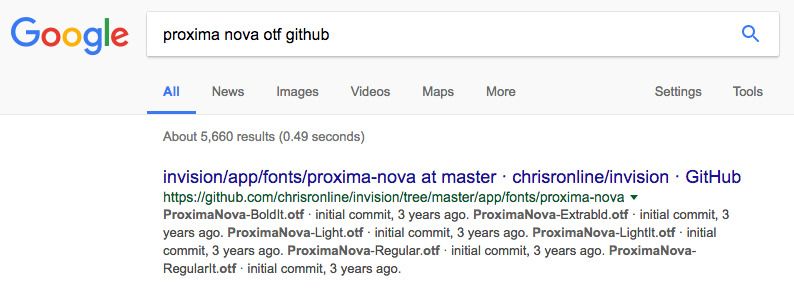
The other trick is to search font within Github repository. For example, if you want to download Proxima Nova, head over to Google Search and type “Proxima Nova + Github”. You will see results from Github.com with links to font files.
Step #4: Downloading and Converting Fonts for Website Use – The Right Way
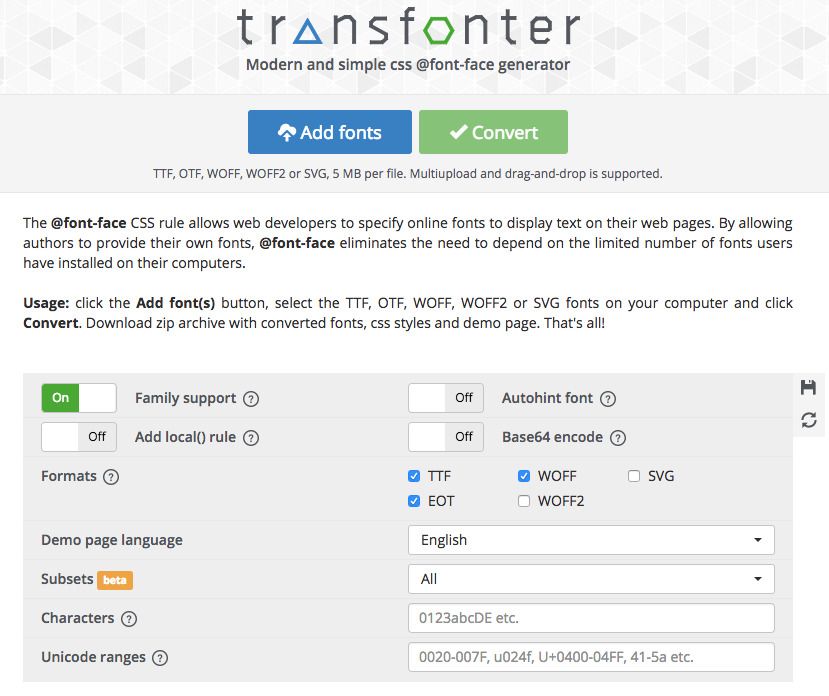
Usually, the font files are in the otf file format. But you need to convert them to woff and woff2 file format to be able to use them on your website. This is where you need a font generator. A font generator essentially converts a font file with a particular file format into the desired format.
There are many FREE font generators out there. However, my favorite is Transfonter because it allows you to upload and convert any font without any restriction. I’ve used Font Squirrel font generator but in many cases, it doesn’t let you upload font files belong to a particular font family.
The process of converting a font file is pretty simple — all you have to do is click on the “Add fonts” button and then click on the “convert” button.
When the conversion is complete, click on the download button to download the font files in desired formats. Usually, the downloaded folder is zipped and include necessary files such as CSS files and a demo file apart from the font files in woff and woff2 file format. Unzip the folder and proceed to the next step.
Step #5: Uploading Web Fonts — Things You Should Keep in Mind
This is often the most important step of all. If you’re unable to install the fonts or calling the fonts via CSS file, your fonts won’t appear on your website at all.
First of all, you should have work knowledge with any FTP client. If you’re able to do it, you can contact me to do it for you for a nominal fee.
Let’s take the example of FileZilla, the popular FTP client. Log in to your FTP client, go to your website’s active theme folder (I’m assuming you’re on a self-hosted WordPress site) and create a new folder named “fonts”.
Upload the two font files having .woff and .woff2 format to your fonts folder.
Then, open the css file in the downloaded folder, and copy the css code.
Past the css code towards the top of your styles.css file of your active theme. Change the path of your fonts in the following way.
Example of CSS Code for Premium Font Installation:
After pasting the appropriate CSS code, save the styles.css file in your active theme.
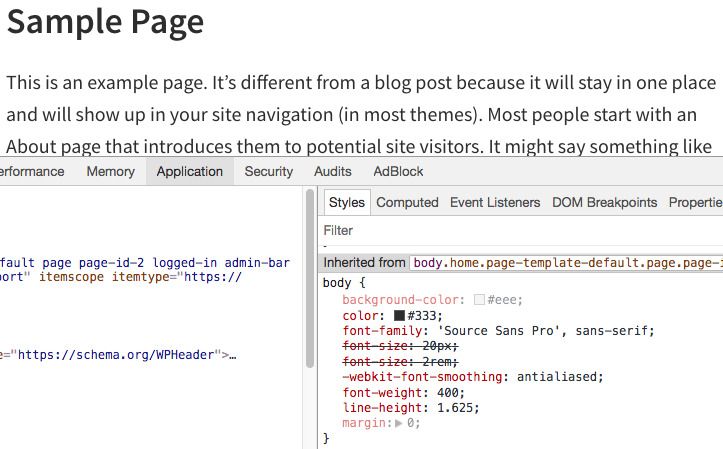
If you want to test your new fonts on your site. Head over to Google Chrome Inspector and test your new fonts by changing the value under font-family as shown in the example above. If you’ve followed the guide correctly, your new fonts should appear. Once you have decided the font-size, font-weight and font color, you can go back to your styles.css file and apply the css code.
If you’re unable to follow any of the steps, contact me and I will help you.
