If you’re a self-hosted WordPress user who turns to Google Docs to write blog posts on a daily basis (just like me), you know the drill.
After writing your draft and proofreading on Google Docs, you have to copy and paste the content into WordPress Visual Editor and clean up the extra formatted code manually.
While WordPress Visual Editor has an option to “clear the formatting”, it’s limited to what it can actually clean up. When you click Text Editor, you will see your paragraphs are wrapped in extra code and styles that you don’t really need.
You can’t leave that behind as the extra code will increase the page weight especially when you have too many paragraphs in your article.
The only option for you is to remove those styles manually. This is not only time-consuming but frustrating as well.
If you’re looking for a solution, here are four options you can try to connect Google Docs to WordPress.
Option #1: Using Jetpack Chrome Extension
This method adds a “SAVE” button to your Google Docs and lets you save your work on your WordPress blog automatically.
Requirements for this Method:
- You should install Jetpack Plugin on your WordPress blog
- You should connect your WordPress blog to your WordPress.com account
- You should install a Jetpack Chrome Extension on your Chrome browser
- You should allow the Chrome browser to access your WordPress blog
To begin with, install and activate the Jetpack plugin on your WordPress blog. Then click on “Connect to WordPress.com” button to connect your self-hosted WordPress blog to your WordPress.com account.
Head over to your Chrome browser, search and install this Chrome extension developed by the Automatic team. When prompted, click on “Allow” button to let the Chrome extension to access your documents.
In your Google Docs, click on “Add-ons” in the toolbar and then visit “WordPress.com to Google Docs > Open. Once you choose the open option, the chrome extension will ask you to choose the blog (if you have multiple blogs) you want Google Docs to connect with. Once done, you can see panel on the right-hand side of your Google Docs.

Now, you’re all set to send your content on Google Docs to your WordPress blog without worry about doing any frustrating copy-paste or clean-up job.
All you have to do is write your draft and click on the “SAVE” button.
Downside of this Method:
While this method makes it easy for you to connect your Google Docs to your WordPress blog, the Jetpack plugin can slow down your site a bit since it will send extra requests to your servers. If you’re already using Jetpack plugin on your blog or don’t care about page speed, it shouldn’t bother you. Moreover, it doesn’t export the fine name of your images. To do that, you need to upload them manually to your media folder. Perhaps, Jetpack should fix this issue in the next rollout.
Option #2: Copy-Paste Method: Cleaning Up Extra Code
If you’re not comfortable with the idea of installing Jetpack plugin and/or Chrome add-on, there’s a workaround which will save you tons of time it takes you to remove those additional styles in the WordPress Text Editor manually.
Thanks to Kinsta team who shared this trick, this method requires you to copy and paste the content thrice in the following manner:
Step #1: Copy and paste your content from Google Docs to your WordPress Visual Editor.
Step #2: Open a New Document on WordPress (preferably in another tab) and copy and paste content from your first visual editor to the second visual editor. At this point, you will see the extra styles (causing line breaks) have been automatically removed from your duplicate post.
Step #3: Copy and paste the content from the duplicate post to the visual editor of the original post. Then select the content and click on “Clear Formatting” button, you will see the extra styles in the paragraphs have been removed. However, styles for headers (H2 and H3) and hyperlinks remain intact.
Downside of this Method:
Even as this is an improved method, it can still feel messy if you consider the number of times you have to copy your content back and forth. Moreover, it doesn’t retain the styles for bold. If you’re okay with doing the extra work, this method should work like a charm for you. At least, better than installing Jetpack plugin and a Chrome add-on.
Option #3: Using Mammoth .Docx Converter Plugin
If Option #1 and #2 don’t rock your boat, this method can feel much better. The Mammoth .Docx Converter plugin lets you upload your draft to WordPress post in a file .docx format and helps you retain the styles you have used in the .docx document.
Here’s how it works.
Once you’ve written your draft on Google Docs, head over to File > Download As > Microsoft Docx, and download your draft in a .docx format.
Then in WordPress blog, install and activate the Mammoth .Docx Converter plugin. Open a new document and click on the visual editor tab. Scroll down to the bottom and you can see the option to select and insert your .docx file.
This plugin retails all the formatting you’ve done in the Google Docs draft, whether it’s headers, bold formatting or lists. Moreover, it also exports your images with their original file names.
Downside of this Method:
There’s no downside to this method as such; however, if you’re a Mac user, you wouldn’t really fancy downloading a file in .docx format merely to upload it to your WordPress visual editor. It might work for many others though. As they say, to each his own.
Option #4: Using Wordable, a Premium Service
If all of the ideas above sound like a lot of work, and you wouldn’t mind spending on a premium service (with a monthly subscription), then Wordable is just for you.
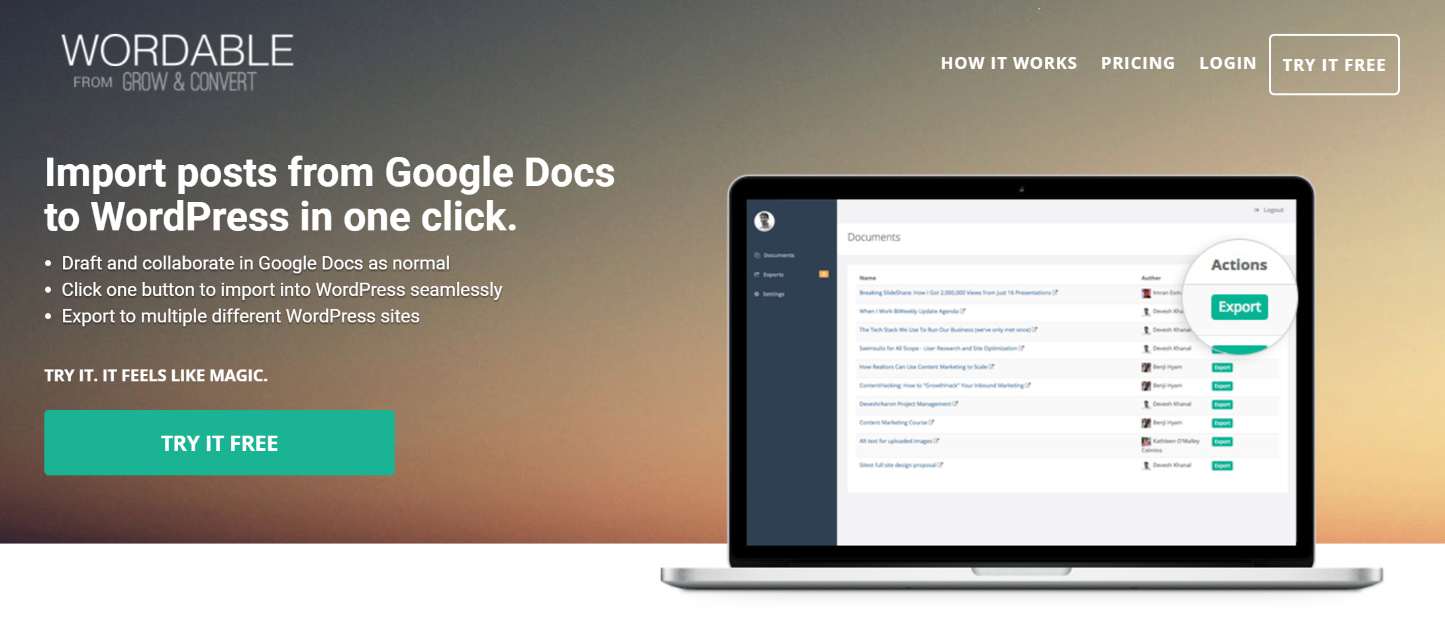
Wordable pretty much works the same way as the Jetpack Chrome plugin does, but it saves you from installing the Jetpack plugin or Chrome extension.
After signing up with Wordable, you just need to allow the service to have access to your Google Docs. Then install and activate the Wordable plugin on your WordPress blog.
Wordable adds an “Export to WordPress” button to your Google Drive, letting you export your draft in Google Docs to WordPress seamlessly.
This being a premium service does a pretty neat job in terms of retaining all your formatting. Moreover, it also saves the images to your media folder in WordPress, meaning you can compress them using any third-party plugin such as Tiny PNG.
Downside of this Method:
If you’re concerned about letting a third-party service access your Google Drive, this method may not work for you. However, knowing that many popular companies such as Copyhackers, Mention, and GrowthLab use their services, you can rest assured on the security front. Again, this method may not be suitable if you can’t set aside $19 for a monthly subscription. However, if you’re a serious blogging with a large team to collaborate, Wordable couldn’t come recommended highly enough.
So, which of the above methods do you like the most?